My ideas for scrapbooking or any craft has always been influenced by what’s happening or what I desire in life. I still remember the quilted pillow i made my college sweetheart because he loved hugging a bolster when sleeping, or the painted glass jug I gave to a friend to store her paper lucky stars in when looking for a job, or the wooden photo frame we have all made as a first handmade gift to a childhood friend.
I was really surprised with what I came up with in class when we were asked to cut out patterns with our freehand and could basically create whatever shapes we wanted. The class was on mixed media experimenting with modelling paste and water based paint.
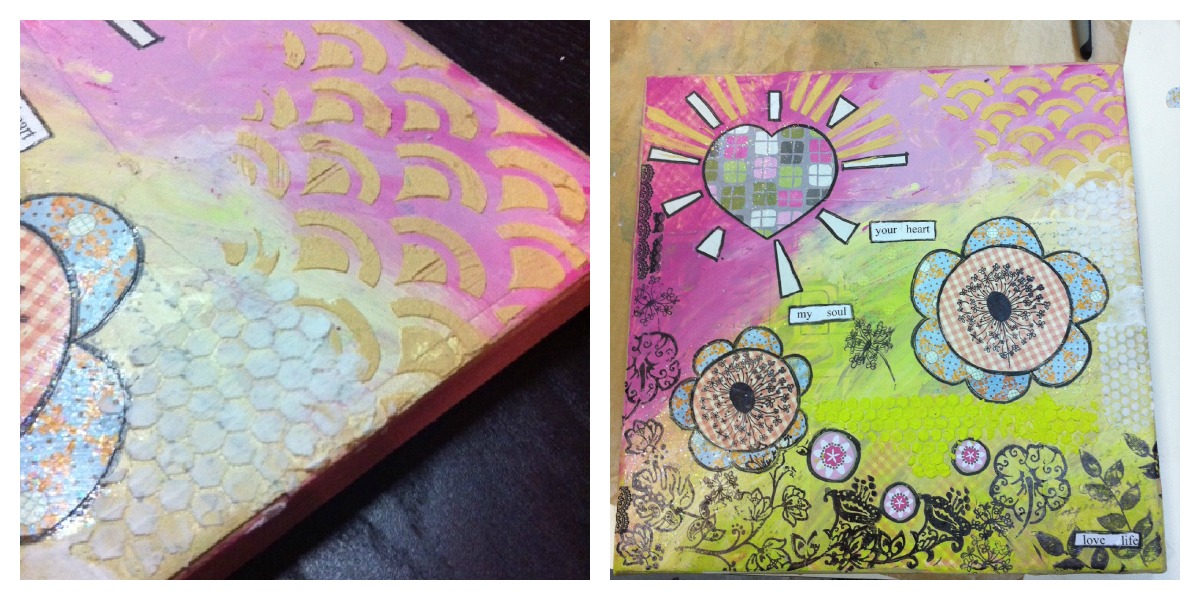
I love simple shapes (because I can’t really draw) and without really thinking about it (coz of limited time in class so you just have to go with your intuition) I came up with the two big bright flowers and three little blossoms all under the rays of the heart-shaped sun. Immediately it reminds me of what my hubby said to me recently, “let’s have a family! let’s have babies!”. Since he wants 2 sons and I want a daughter so jokingly we said we should have 3 kids….. hopefully all will be taken good care of by us two the silly looking flowers and blessed by all the happy things in life like the sun shinning on us. So, I am really looking forward to scrapbooking about my family when it all happens (whenever that is : P)
How the canvas came about:
I love getting messy when DIY-ing so used my fingers a lot!
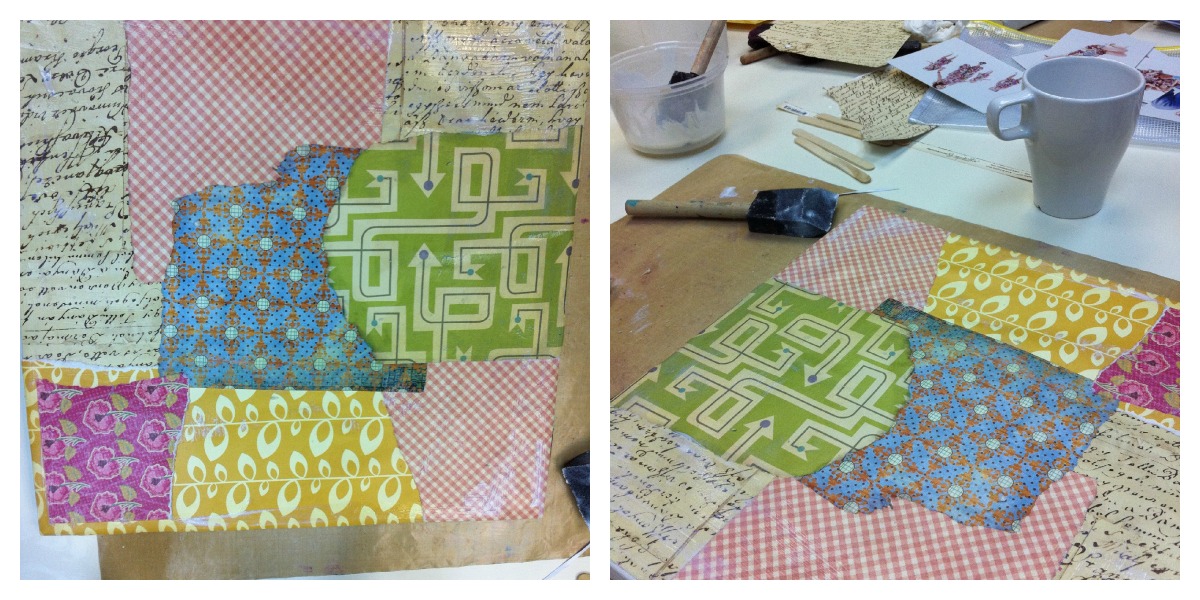
1) If you have loads of scrap papers lying around then this is a good chance to use it. We randomly stuck on patters of scrap papers. We used mod podge as glue and to coat a top layer on the scrap papers. I used my fingers to spread the mod podge. So you can feel the thickness and also more fun.
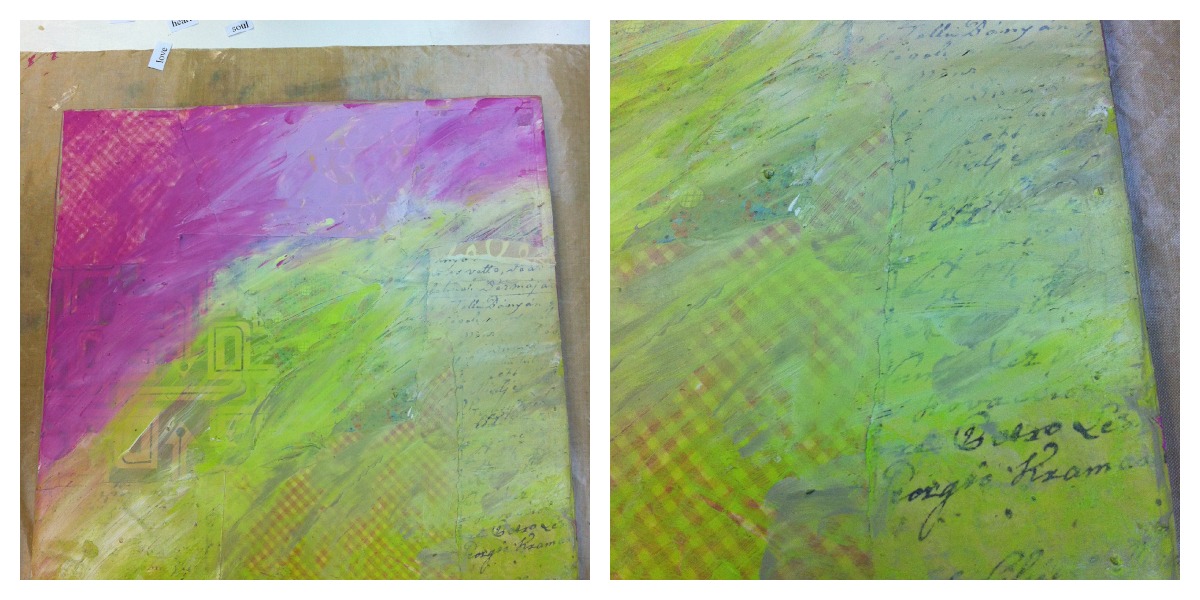
2) Painted lightly over them with Kaiser craft water paints so you can still see through to the layer of papers below. I deliberately kept the bottom corner layer thin because I really liked the calligraphy showing through.
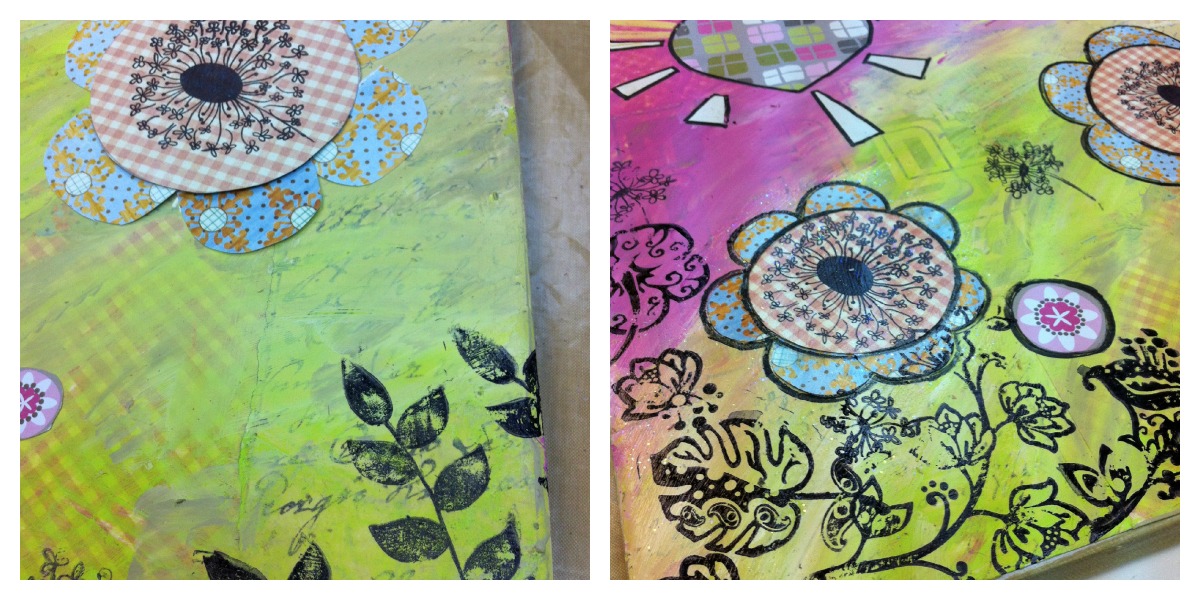
3) then cut out your shapes or whatever overlaying design and arranged them on the canvas. Again use mod podge as glue and also to coat a top layer over the paper patterns.
4) Create another layer with stamps using archival ink. Make sure you use archival ink so it doesn’t run. Use a marker to outline the shapes to bring it out a bit (after the mod podge have dried).
5) Then we masked with a light molding paste.. (there are loads of other types of modelling paste you can use, shimmer, hard, powdery etc and I can’t wait till I try them!). I mixed the modelling paste with a gold paint to create the fan-shapes on top right hand corner. Some others use white with cloud shape, it looked really really nice.
6) Then some rub ons near the border and voila you have a beautiful canvas with whatever colour and shapes you can imagine.
As you can see it only requires a few simple steps and you are only limited by your imagination on what you can put on the canvas. Go get messy!!
The class was taught by Grace, you can see more of her work on her blog! She is very creative and works alot with mixed media.


