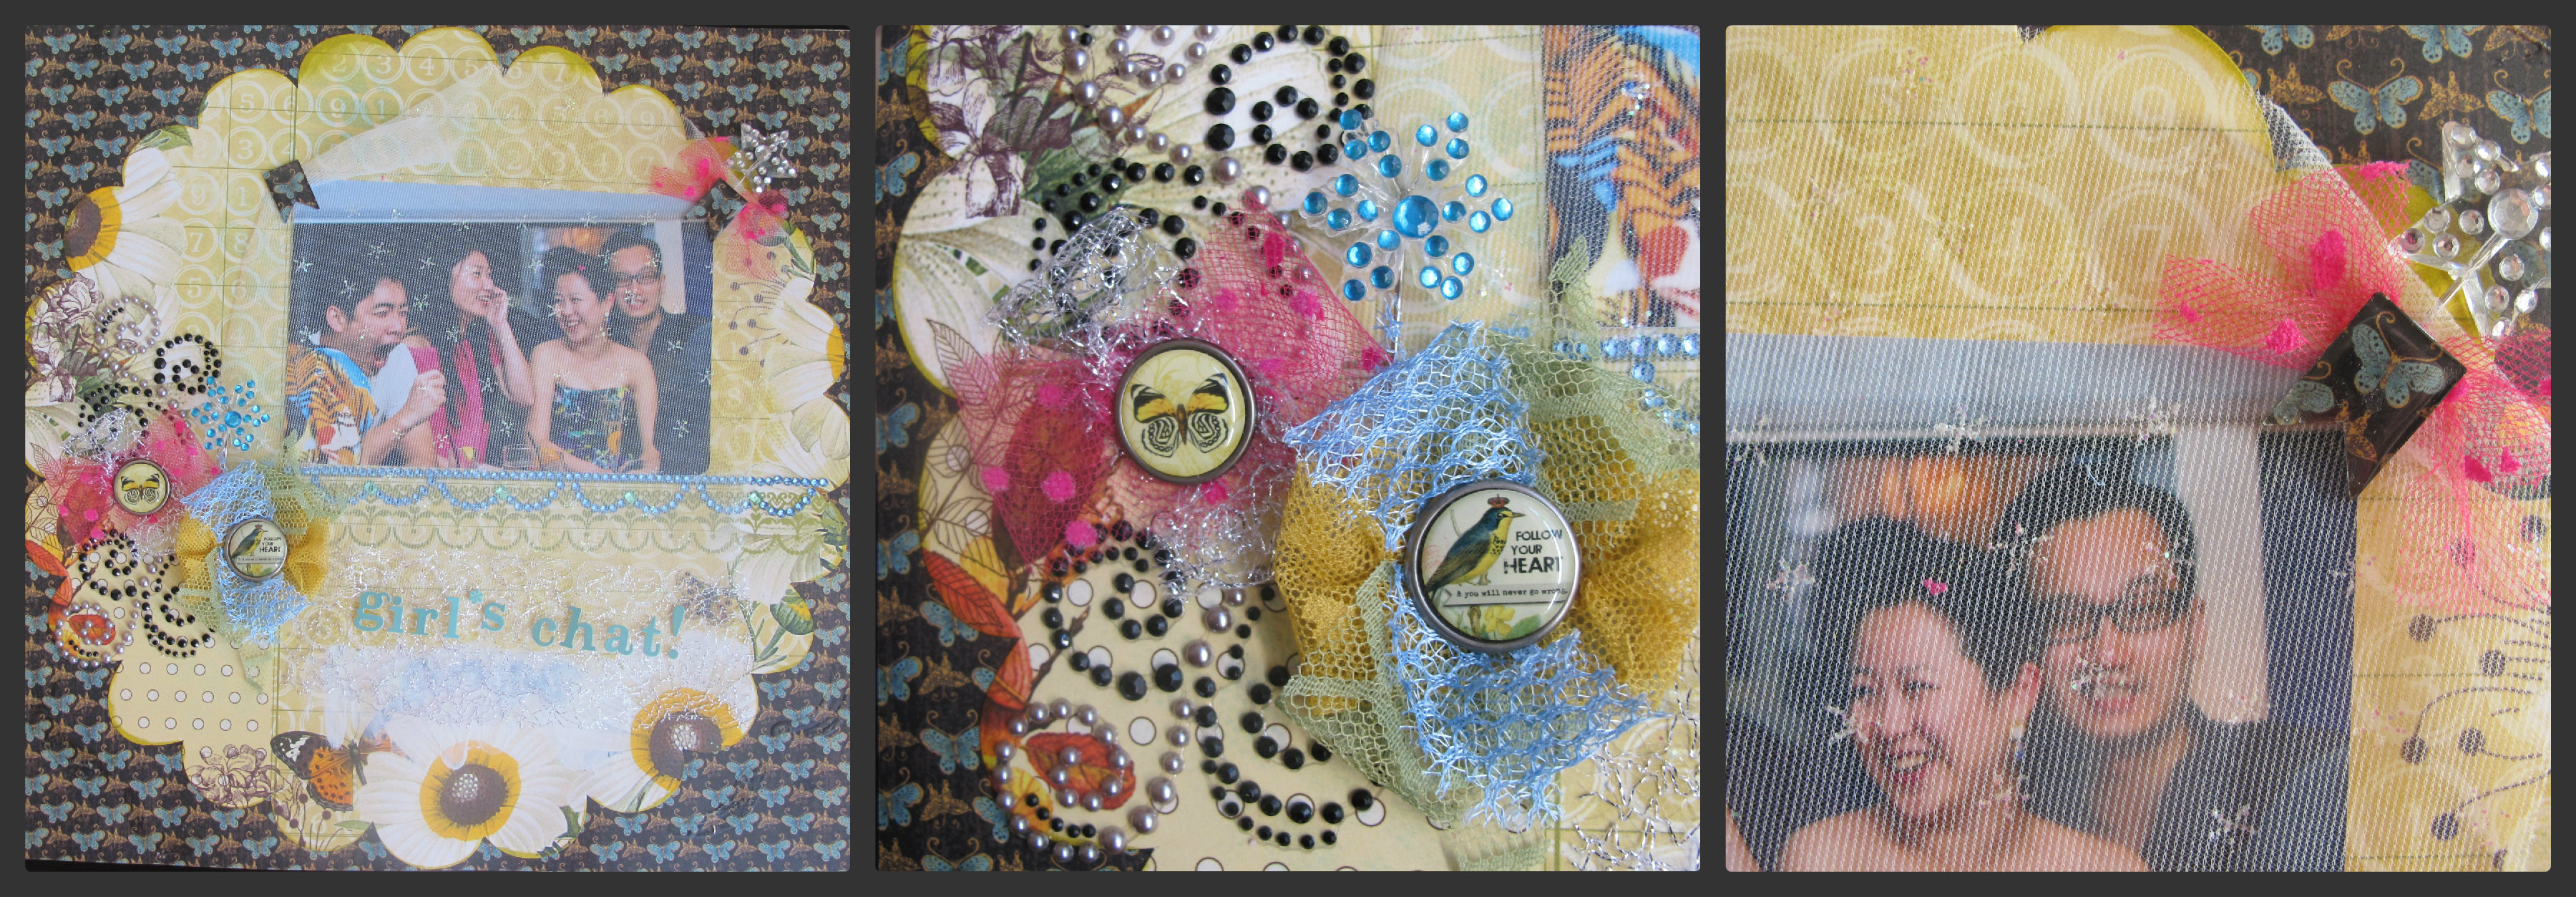
Mak’ Luvin

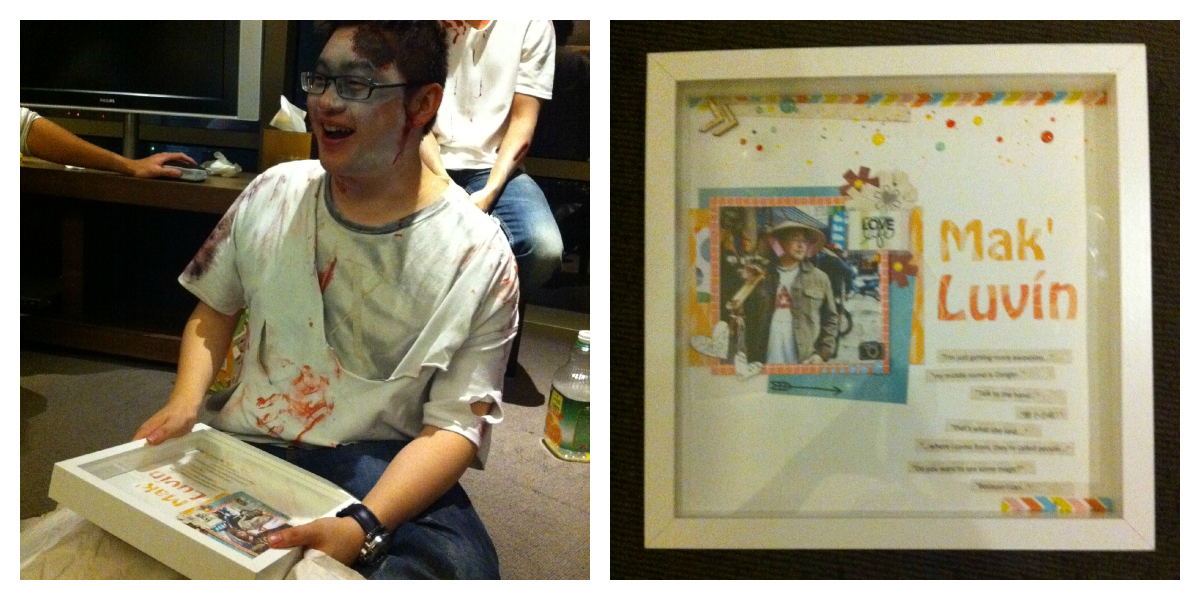
We have a friend in Shanghai who keeps joking about how much he misses our group of friends in HK (coz we are so awesome of cuz : P), so when we decided to go visit him for his birthday I really wanted to give him a present that reminds him of us, of all the awesome times the bunch of us have spent together.

It only took seconds for everyone to come up with what reminds us of “Mak’Luvin” and our good times with him – his favourite catchphrases. His incredibly funny, witty, abrupt and provocative catchphrases are his trademark. Whenever they are dropped into our conversations, they never fail to amuse, with all of us cracking up laughing so hard our stomachs hurt. These belong to him and him only. It’s just not the same when someone else repeats them. His mannerisms, his snickering, his laugh, his gestures are what makes them so special.

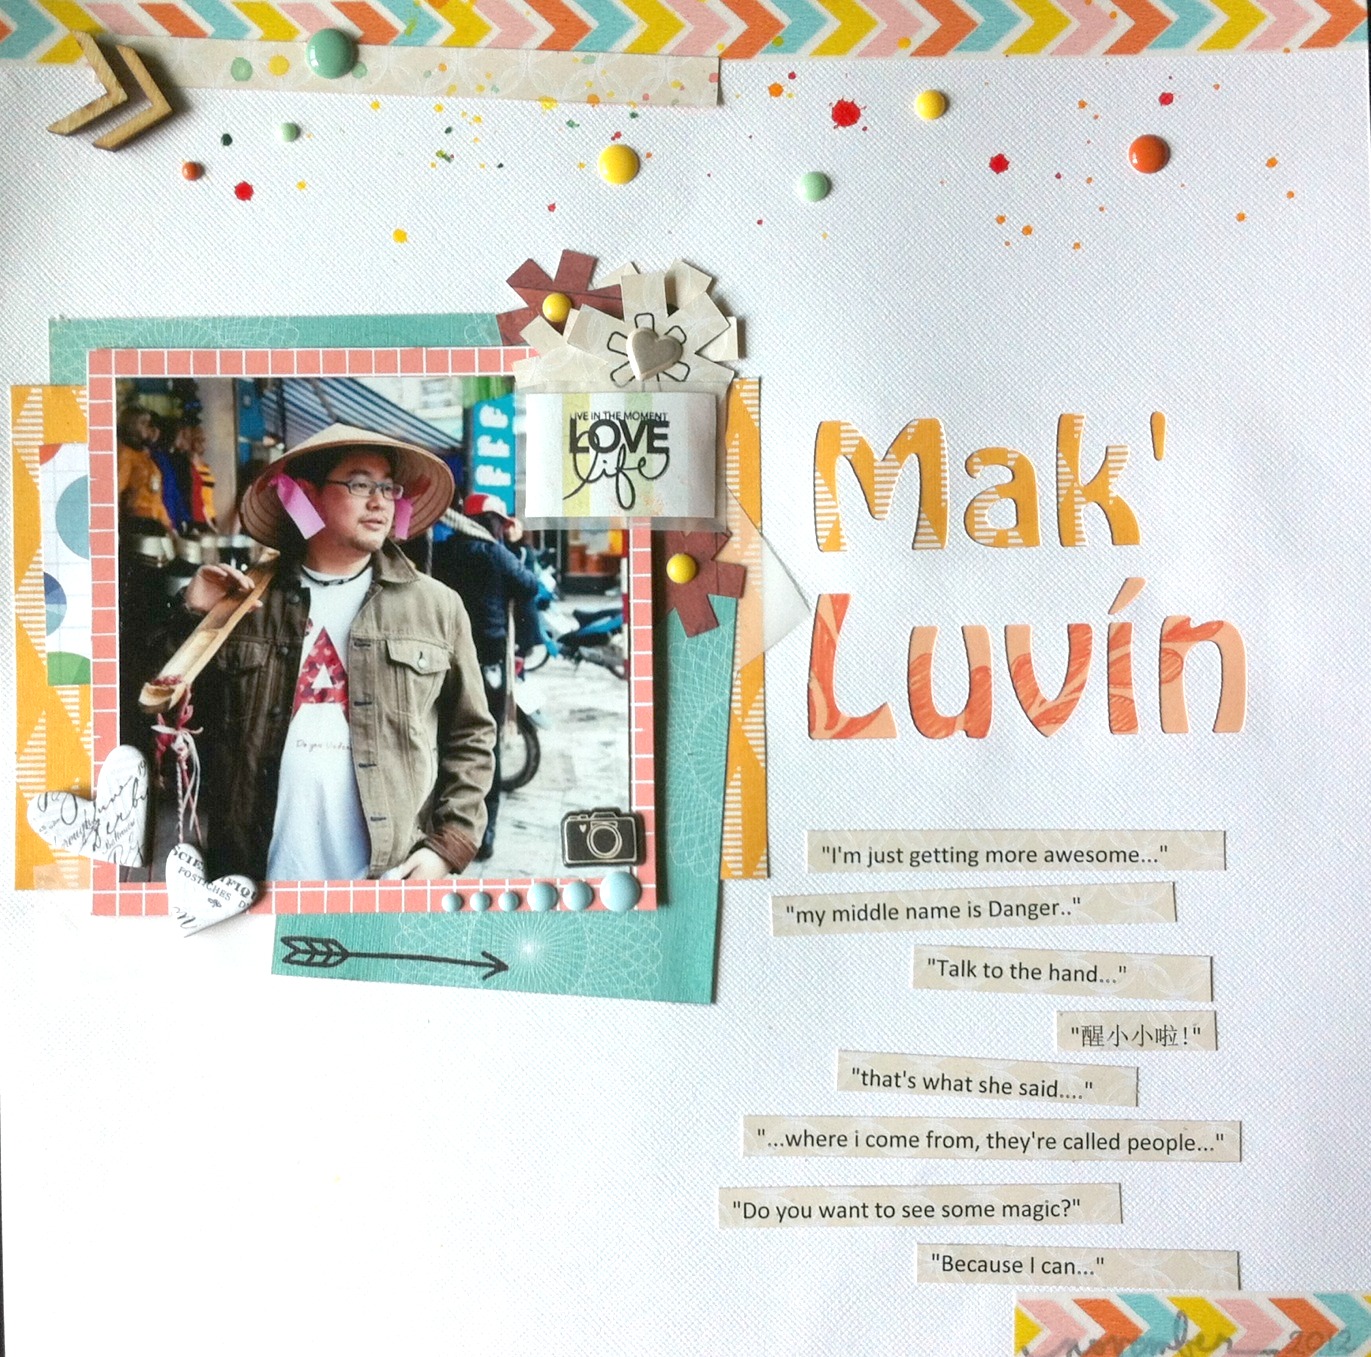
So, this is how the page came about, a page of him, in a stunning photo reminding us of what we thought was another hilarious encounter in Hanoi, together with his name and a list of his infamous mottos.

We hope that everytime he sees his own quotes that remind us of him, he will remember how much happiness and joy he has brought to us over the years also. Happy Birthday again Mak’ Luvin aka Christopher DANGER Mak hahahah…

Products used: Studio Calico October Kit, Ikea shadow Box, E-clips for cutting the name, Mister Hueys, Enamel dots from My Mind’s Eye

sorry photos a bit blurred after a few drinks :p

Sensational Scrapbooking Retreat

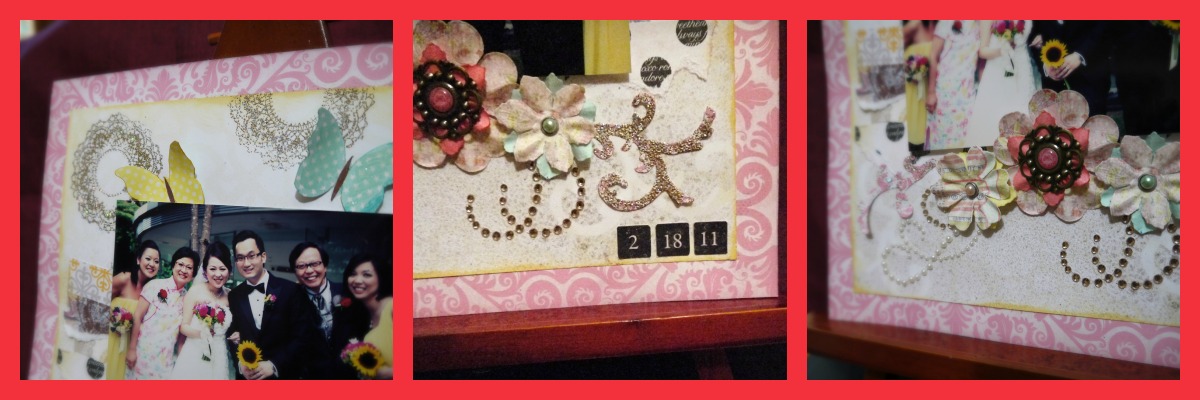
(left) first time using fabric on a layout, and used one of them to overlay the photo (middle) made the flowers from scratch and held together with brad (right) one of the requirement of the challenge was to use the brad made with our opening gift. so cute!

Have been busy with a number of things, travelling, scrapbooking, eating, drinking, whatever… can’t remember 😛 so haven’t been blogging for awhile..but slowly, will update more on what has been happening on the scrapbooking/baking front 🙂

About a month ago, I had a wonderful day at Discovery Bay.

I know scrapbooking retreat is really popular and common in the
States and Canada but it is a luxury in Hong Kong. So about a month ago, I jumped at the chance and took a day off to attend the fall retreat organised by HK Memory Chest. It was amazing!!

You can say my amusement could be due to scrapbooking retreat being a first for me but it was sooo much fun!! The first time I scrapbooked with 20 other people and all were experts with so many tips and ideas to share. It really was an eye-opening experience for me.

The best bit, I was able to scrapbook for 12 hours straight. No interruption no work, no rushing to go out, just non-stop scrapbooking, cutting, gluing, stamping, embossing and laughing!

I can’t wait till the next retreat. I manage to finish 3 layouts on the day (a big achievement for me b/c usually I am really slow….). This first one was using a kit provided to us and the challenge was to use at least one piece of paper, the embellishment, and the brad(s) made from our opening gift.

The last layout I did towards end of evening won me a prize full of Prima marketing scrapbooking goodies..very surprised but very happy!! more on that later…

Getting Messy with mixed media

My ideas for scrapbooking or any craft has always been influenced by what’s happening or what I desire in life. I still remember the quilted pillow i made my college sweetheart because he loved hugging a bolster when sleeping, or the painted glass jug I gave to a friend to store her paper lucky stars in when looking for a job, or the wooden photo frame we have all made as a first handmade gift to a childhood friend.

I was really surprised with what I came up with in class when we were asked to cut out patterns with our freehand and could basically create whatever shapes we wanted. The class was on mixed media experimenting with modelling paste and water based paint.

I love simple shapes (because I can’t really draw) and without really thinking about it (coz of limited time in class so you just have to go with your intuition) I came up with the two big bright flowers and three little blossoms all under the rays of the heart-shaped sun. Immediately it reminds me of what my hubby said to me recently, “let’s have a family! let’s have babies!”. Since he wants 2 sons and I want a daughter so jokingly we said we should have 3 kids….. hopefully all will be taken good care of by us two the silly looking flowers and blessed by all the happy things in life like the sun shinning on us. So, I am really looking forward to scrapbooking about my family when it all happens (whenever that is : P)

How the canvas came about:

I love getting messy when DIY-ing so used my fingers a lot!

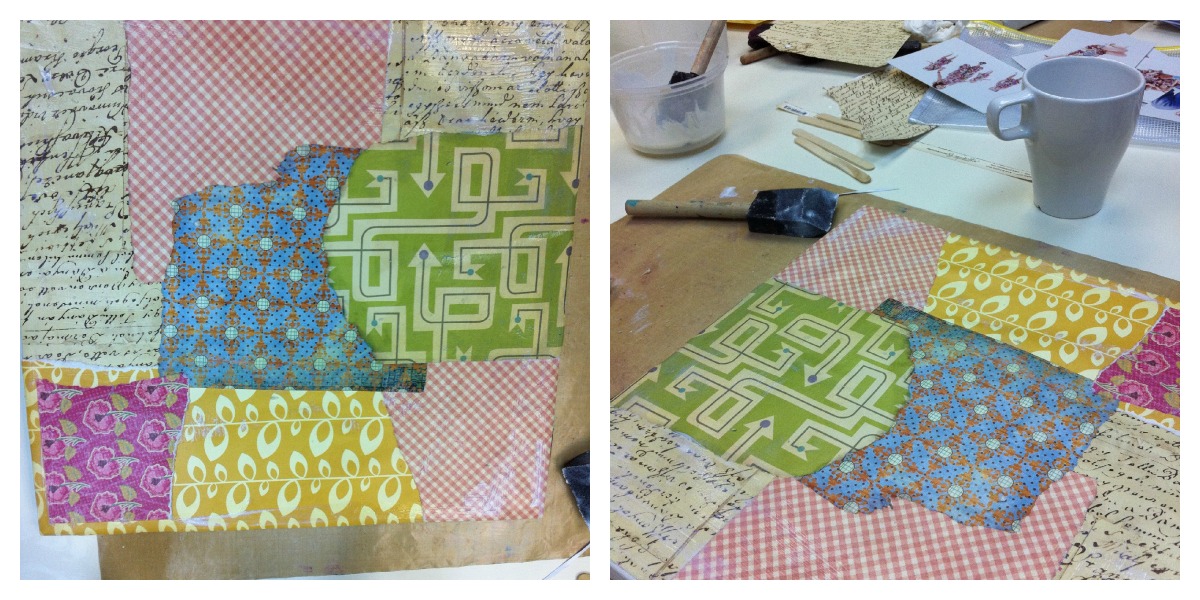
1) If you have loads of scrap papers lying around then this is a good chance to use it. We randomly stuck on patters of scrap papers. We used mod podge as glue and to coat a top layer on the scrap papers. I used my fingers to spread the mod podge. So you can feel the thickness and also more fun.
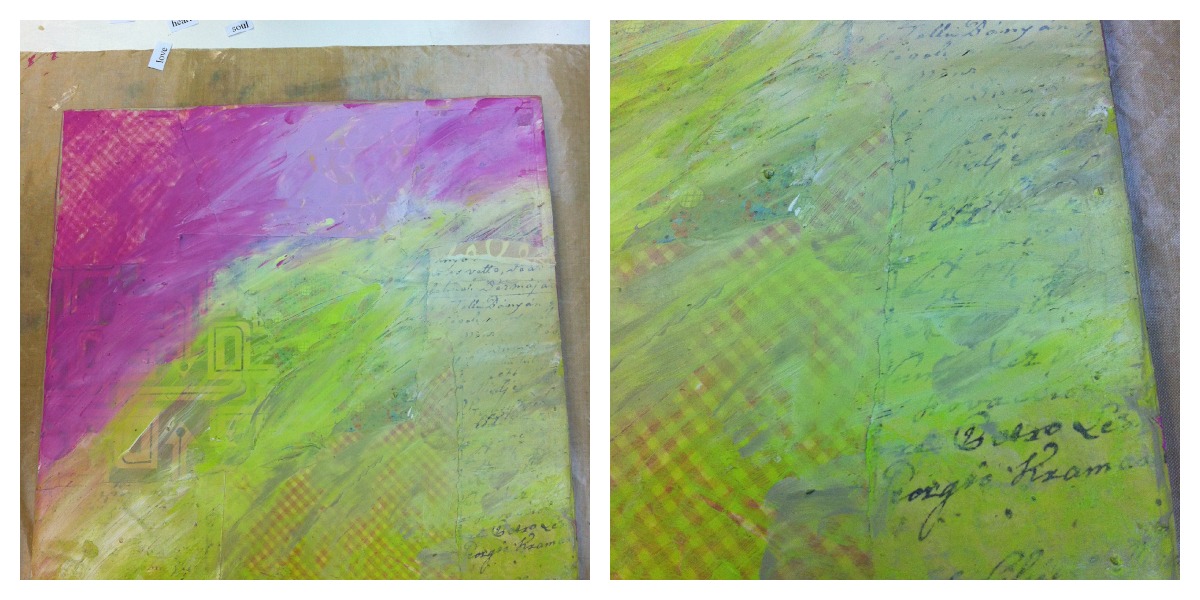
2) Painted lightly over them with Kaiser craft water paints so you can still see through to the layer of papers below. I deliberately kept the bottom corner layer thin because I really liked the calligraphy showing through.
3) then cut out your shapes or whatever overlaying design and arranged them on the canvas. Again use mod podge as glue and also to coat a top layer over the paper patterns.

4) Create another layer with stamps using archival ink. Make sure you use archival ink so it doesn’t run. Use a marker to outline the shapes to bring it out a bit (after the mod podge have dried).
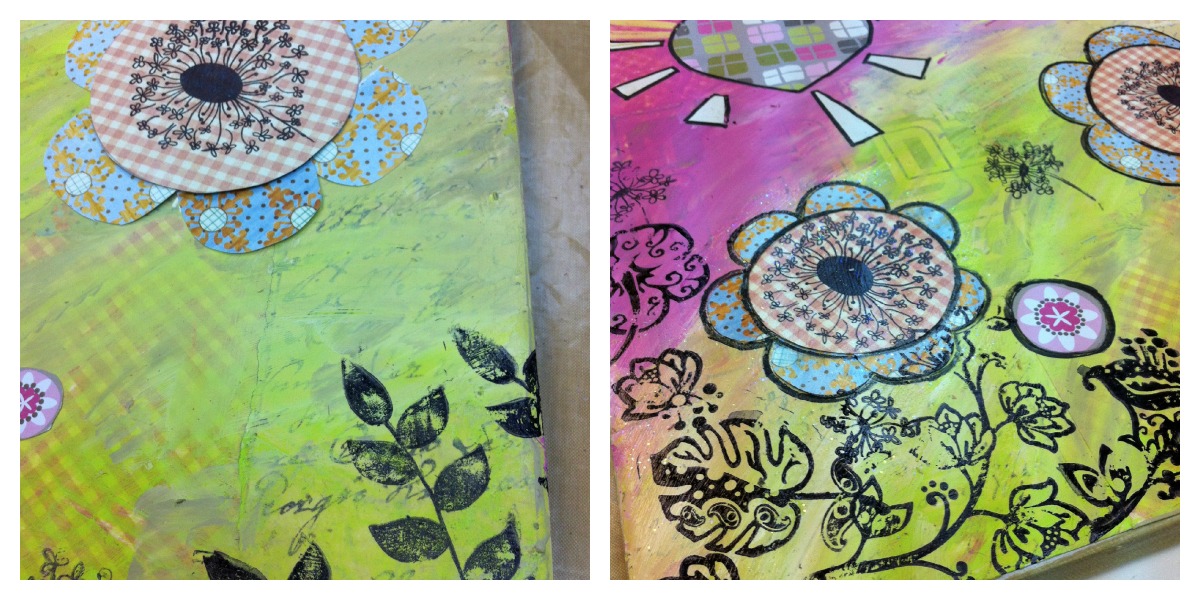
5) Then we masked with a light molding paste.. (there are loads of other types of modelling paste you can use, shimmer, hard, powdery etc and I can’t wait till I try them!). I mixed the modelling paste with a gold paint to create the fan-shapes on top right hand corner. Some others use white with cloud shape, it looked really really nice.
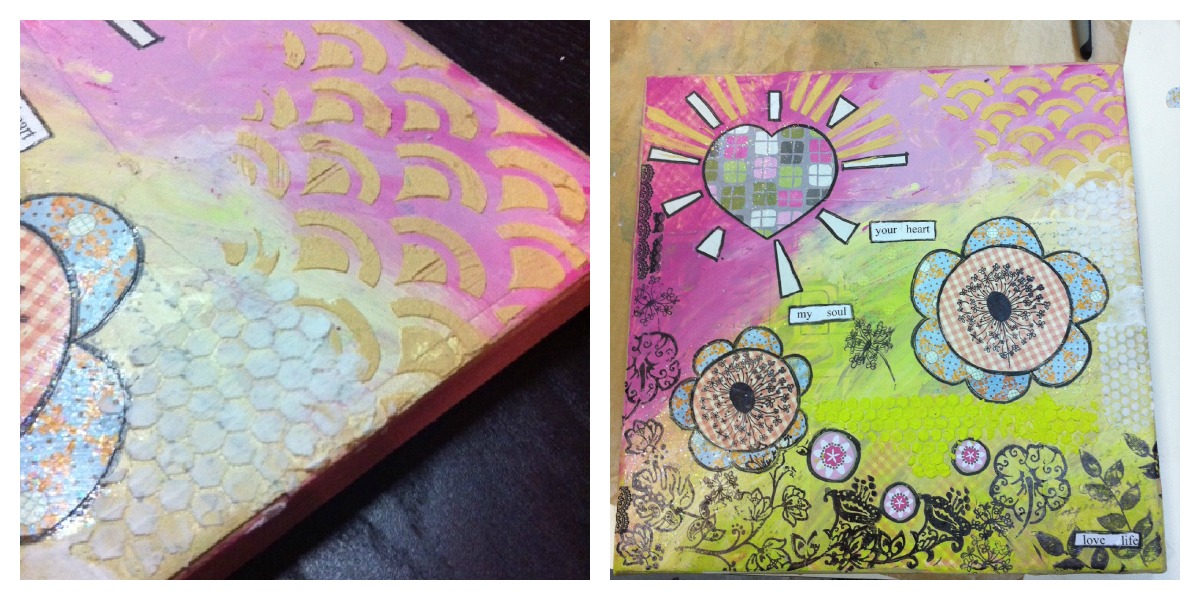
6) Then some rub ons near the border and voila you have a beautiful canvas with whatever colour and shapes you can imagine.

As you can see it only requires a few simple steps and you are only limited by your imagination on what you can put on the canvas. Go get messy!!

The class was taught by Grace, you can see more of her work on her blog! She is very creative and works alot with mixed media.
Happy happy wedding day

Finished layout in shadow box

My parents live overseas and whenever they miss us, they love to look through photos of us and think about the times we spent together. When we go home in Sydney, we love pondering over the photo collection they have on the wall, on the photo corner and laugh about old times, about memorable times.

So when my parents were about to return to Sydney, I wanted to give them something that they can take back to Sydney to add to their photo collection. It has been more than a year since I got married and they have always complained that I haven’t given them a family photo from our wedding 😛 yup i’m lazy in that way.

As I had limited time, around 2 hours’ time, I decided to copy the layout I learned from Prima class – it had enough layers for a photo in the centre and included number of embellishments so perfect to focus the attention on the photo in the middle 🙂

Close up of embellishments
From left: Butterflies were covered with glossy accent to give it a shiny look so it doesn’t look so flat; decorative corner has been embossed with shiny gold powder; petals were layered and held together by brads to form the flowers with decorative bling bling

Materials used: Sizzix Die (#656538 Decorative Flourishes Set), Ranger Ink Ancient Gold Embossing Powder (EGJ00761 African Gold), My Minds Eye Stella and Rose Gertie Doily Stamps, Prima – Essentials 10 Collection – Flower Embellishments – Sparkling Spring, Tim Holtz Distress Ink (Mustard Seed), Kaisercraft Rhinestone Flourishes (Classic Champagne), Kaisercraft Pearl Flourishes (Decorative Pearl), Jillbean Soup Blossom Soup Fresh Cilantro paper